
In ISAM 9.0.4.0 the OIDC relying party was completely rewritten for increased flexibility. This has made it much easier to add support for Facebook Login into an ISAM Reverse Proxy instance.
Here are the steps I’ve taken to authenticate into ISAM with Facebook.
Pre-Conditions:
- ISAM 9.0.4.0 – Preconfigured Standard WebSEAL reverse Proxy with default configuration.
- Activate with Federation Module
Step 0: Load TLS Certificate into ISAM
Navigate to “Manage System Settings” -> “SSL Certificates”.

Select the runtime profile keystore, and select “Manage” -> “Edit SSL Certificate Database”.

On the Signer Certificates Tab, Select “Manage” -> “Load”.

Enter the details for the Facebook graph server:
Server: graph.facebook.com
Port: 443
Certificate Label: FB
Now Select Load. This should add a new certificate to your signer store.
Deploy the changes to make this available.
Step 1: Create Identity Mapping
Navigate to Secure Federation -> Mapping Rules

Create a new Mapping rule, called “FacebookIdentityMap” in the category OIDC.

Adding the following text:
importPackage(Packages.com.tivoli.am.fim.trustserver.sts);
importPackage(Packages.com.tivoli.am.fim.trustserver.sts.uuser);
importClass(Packages.com.tivoli.am.fim.trustserver.sts.utilities.IDMappingExtUtils);
importClass(Packages.com.ibm.security.access.httpclient.HttpClient);
importClass(Packages.com.ibm.security.access.httpclient.HttpResponse);
importClass(Packages.com.ibm.security.access.httpclient.Headers);
importClass(Packages.com.ibm.security.access.httpclient.Parameters);

var attr = stsuu.getContextAttributes().getAttributeByName("access_token");
var access_token = attr.getValues()[0];

IDMappingExtUtils.traceString("\nFBMAP: ***** AT Value:\n " + access_token.toString() + "\n");

var profileAttrToISAMCredAttrMap = {
 "first_name":"firstName",
 "last_name":"lastName",
 "email":"email"
};

var principalReam = "https://www.facebook.com/"; // used as prefix for principal name
// used to get user info
var resourceURL = "https://graph.facebook.com/v2.8/me?fields=first_name,last_name,email&access_token=";
var resourceStr = resourceURL + access_token;
hrr = HttpClient.httpGet(resourceStr);
if (hrr != null) {
  var rc = hrr.getCode();
  IDMappingExtUtils.traceString("got a response code: " + rc);
  if (rc == 200) {
    var body = hrr.getBody();
    IDMappingExtUtils.traceString("got a response body: " + body);
    var rspJson = JSON.parse(body);

    var username = principalReam + rspJson.id;
    stsuu.setPrincipalName(username);

    IDMappingExtUtils.traceString("got a id: " + username);
    IDMappingExtUtils.traceString("adding Attrs" );

    for (key in rspJson) {
      var isamCredAttrName = profileAttrToISAMCredAttrMap[key];
      if (isamCredAttrName != null) {
        IDMappingExtUtils.traceString("mapping profile attribute: " + key +
            " to ISAM credential attribute: " + isamCredAttrName + " value: " + rspJson[key] );
        var attr = new com.tivoli.am.fim.trustserver.sts.uuser.Attribute(key,
            "urn:ibm:names:ITFIM:5.1:accessmanager", rspJson[key]);
        stsuu.addAttribute(attr);
      } else {
        IDMappingExtUtils.traceString("Skipping profile attribute: " + key +
            " because there is no mapping defined to an ISAM credential attribute." );
      }
    }
  }
}
Save and deploy the changes.

Step 2: Configure the OIDC relying party
Configuring the OIDC Relying party is only necessary if you’ve not already configured an OIDC Relying party on your environment already. If you have, skip to Step 3.
Navigate to Secure Federation -> Federations.

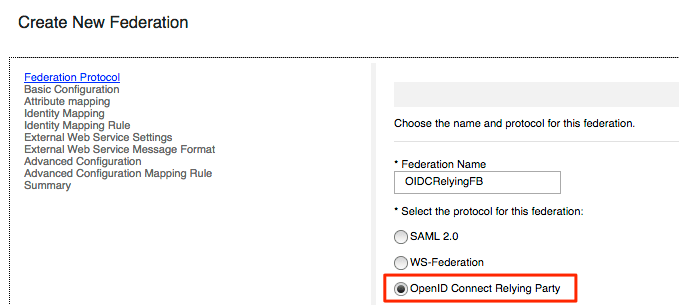
Add a new OpenID Connect Relying Party.
Enter the Federation Name: “OIDCRelyingFB” – Note: we use this name in the kickoff URL at the end.
Define the Point of Contact URL. The public DNS name and the federation junction.

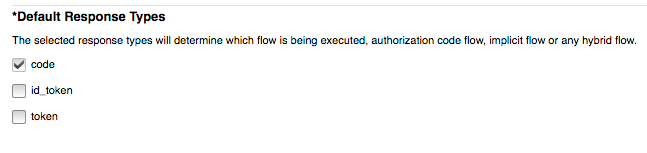
Select the Response Type – Code.
Leave Attribute mapping Blank – Click Next.

Select “Use JavaScript transformation for identity mapping”. (This is the step where we will call back to Facebook to request the user identity attributes.) This is necessary since Facebook doesn’t actually expose a standard OIDC implementation, but is rather built on OAuth 2.0 and additional “stuff”.

Select the “FacebookIdentityMap” mapping rule created earlier. Click Next.

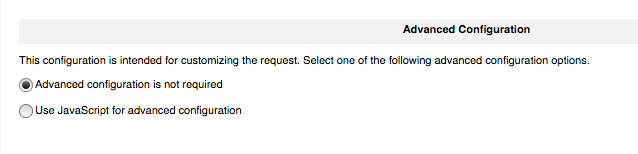
No advanced configuration is required, Click Next.
Select OK to Finish.
Step 3: Collect Facebook Credentials
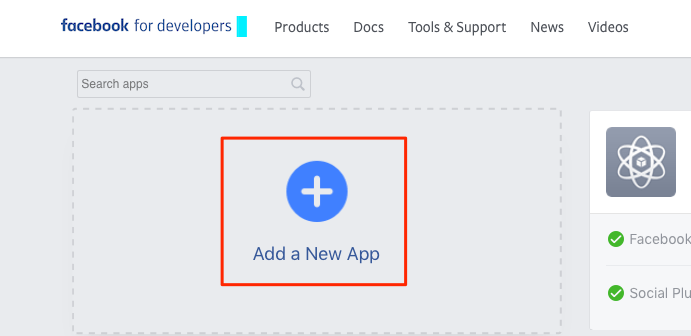
Navigate to the apps page on Facebook for developers:
https://developers.facebook.com/apps
Authenticate if required.
Click Add New App.
Name your application and enter a contact email.
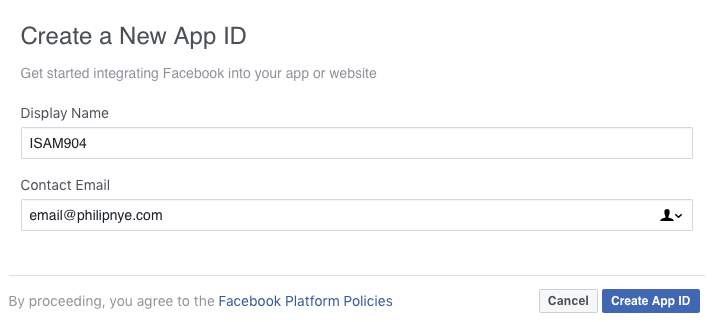
In the menu, select Settings -> Basic to show App ID and App Secret.

Save the App ID and App Secret on a scratchpad, this will be necessary when configuring the Partner into ISAM.
Navigate to the available products for your application.
Add Select Facebook Login from the available options.

Configure Facebook login with the Redirect URI:
https://<isamurl>/isam/sps/oidc/rp/OIDCRelyingFB/redirect/Facebook
OIDC URLs are documented in the KC here:
https://www.ibm.com/support/knowledgecenter/SSPREK_9.0.4/com.ibm.isam.doc/config/concept/oidc_rp_auth_endpoints.html
Step 3: Configure OIDC Partner
Under the Federations Menu, Select the newly created OIDC RP, and select “Partners”.

Click “Add” to create a new Partner.

Enter the name – “Facebook” and select “Enabled”. Click Next.

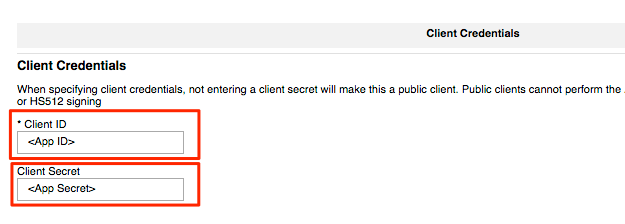
Enter the Client Credentials – as collected from the developer portal on Facebook in Step 3 above. Click Next.
Do not specify a metadata endpoint. Click Next.
Enter the partner configuration as follows:
Issuer Identifier: https://facebook.com
Response Types: “Code”
Authorization Endpoint: https://www.facebook.com/v2.12/dialog/oauth
Token Endpoint: https://graph.facebook.com/v2.12/oauth/access_token
Userinfo: <Blank>
Note: the URLs used here for Facebook are sourced from:
https://developers.facebook.com/docs/facebook-login/manually-build-a-login-flow

Click Next.
Select “none” for signature algorithm. Click Next.

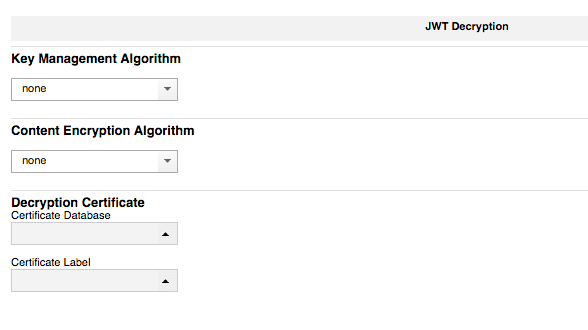
Leave Defaults and Click Next for JWT Decryption. (none). Click Next.
Add the required scopes.
The available list of scopes is quite broad, see this page for details:
https://developers.facebook.com/docs/facebook-login/permissions/
For basic SSO, request “email” and “public_profile”, and select “client_secret_post” for POST based OIDC client authentication.

Leave attribute mapping Blank, Click Next.

Select “Use JavaScript transformation for identity mapping”. (This is the step where we will call back to Facebook to request the user identity attributes.) This is necessary since Facebook doesn’t actually expose a standard OIDC implementation, but is rather built on OAuth 2.0 and additional “stuff”.

Select the “FacebookIdentityMap” mapping rule created earlier. Click Next.
Leave Default options for Advanced Configuration, Click Next.

Click OK to Finish the wizard.
Deploy the changes.
Step 4: Expose Reverse Proxy URLs – Federation Config
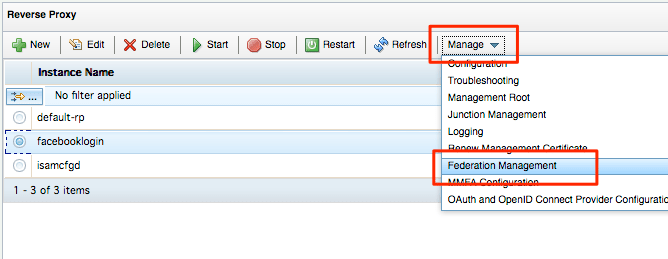
Navigate to “Secure Web Settings” -> “Reverse Proxy”.

Select the reverse proxy instance to enable Facebook login for, and select “Manage” -> “Federation Management”.
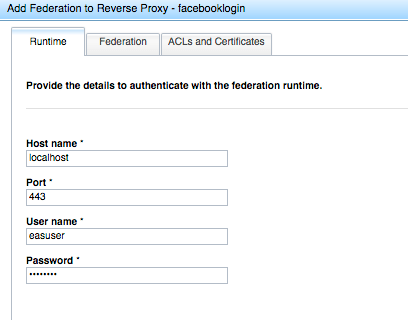
Click Add, to add a new federation configuration.

Enter the details for the federation runtime. (Note this may not be on your local server in a larger/HA architecture.)
Standard settings are:
Host name: localhost
Port: 443
Username: easuser
Password: passw0rd (Change me!)
On the next Tab, select the federation name created above.

Click Submit. (ACLs and Certificates tab can remain defaults)
Close the Federation menu, Click Deploy Changes.
Restart the Reverse Proxy.
Step 5: To Registry or not to Registry
If you want the users to be asserted by Facebook, and not exist in the local ISAM user registry, use the ISAM Credential setting in the Point of Contact.
Navigate to “Secure Federation Settings” -> “Point of Contact”.

If you’d like to Just in Time Provision the user into the ISAM Registry, you can use the same mapping rule at the beginning of this article to look the user up, and create the user if required.
Final Step: Test!
Open a new browser tab, and navigate to the following URL:
https://<isamurl>/isam/sps/oidc/rp/OIDCRelyingFB/kickoff/Facebook
For me – it was:
https://phildemo.com/isam/sps/oidc/rp/OIDCRelyingFB/kickoff/Facebook
All the URLs you need for your OIDC configuration are detailed here:
https://www.ibm.com/support/knowledgecenter/SSPREK_9.0.4/com.ibm.isam.doc/config/concept/oidc_rp_auth_endpoints.html
Add a Facebook login button to your login page with the link above.
Many thanks to Leo Farrell, for his ongoing support in this article, and many others.
